
Here's what I've been up to lately, crafting up ornaments for our freshly cut tree.

I started out with some basic supplies. Glass balls for these:

I used my Silhouette to cut out vinyl letters (you could use stickers as well)
and wired ribbon glue to the top.

I made each of the kids an ornament with their picture behind a plastic star.
Here's how I did it:

I used a package of Scrapbook Adhesive Sheets (found at Archivers)
and clear plastic stars (sold in a set - also found these at Archivers).

Applied the sticky to one side of the star...

Put it over the top of the picture.
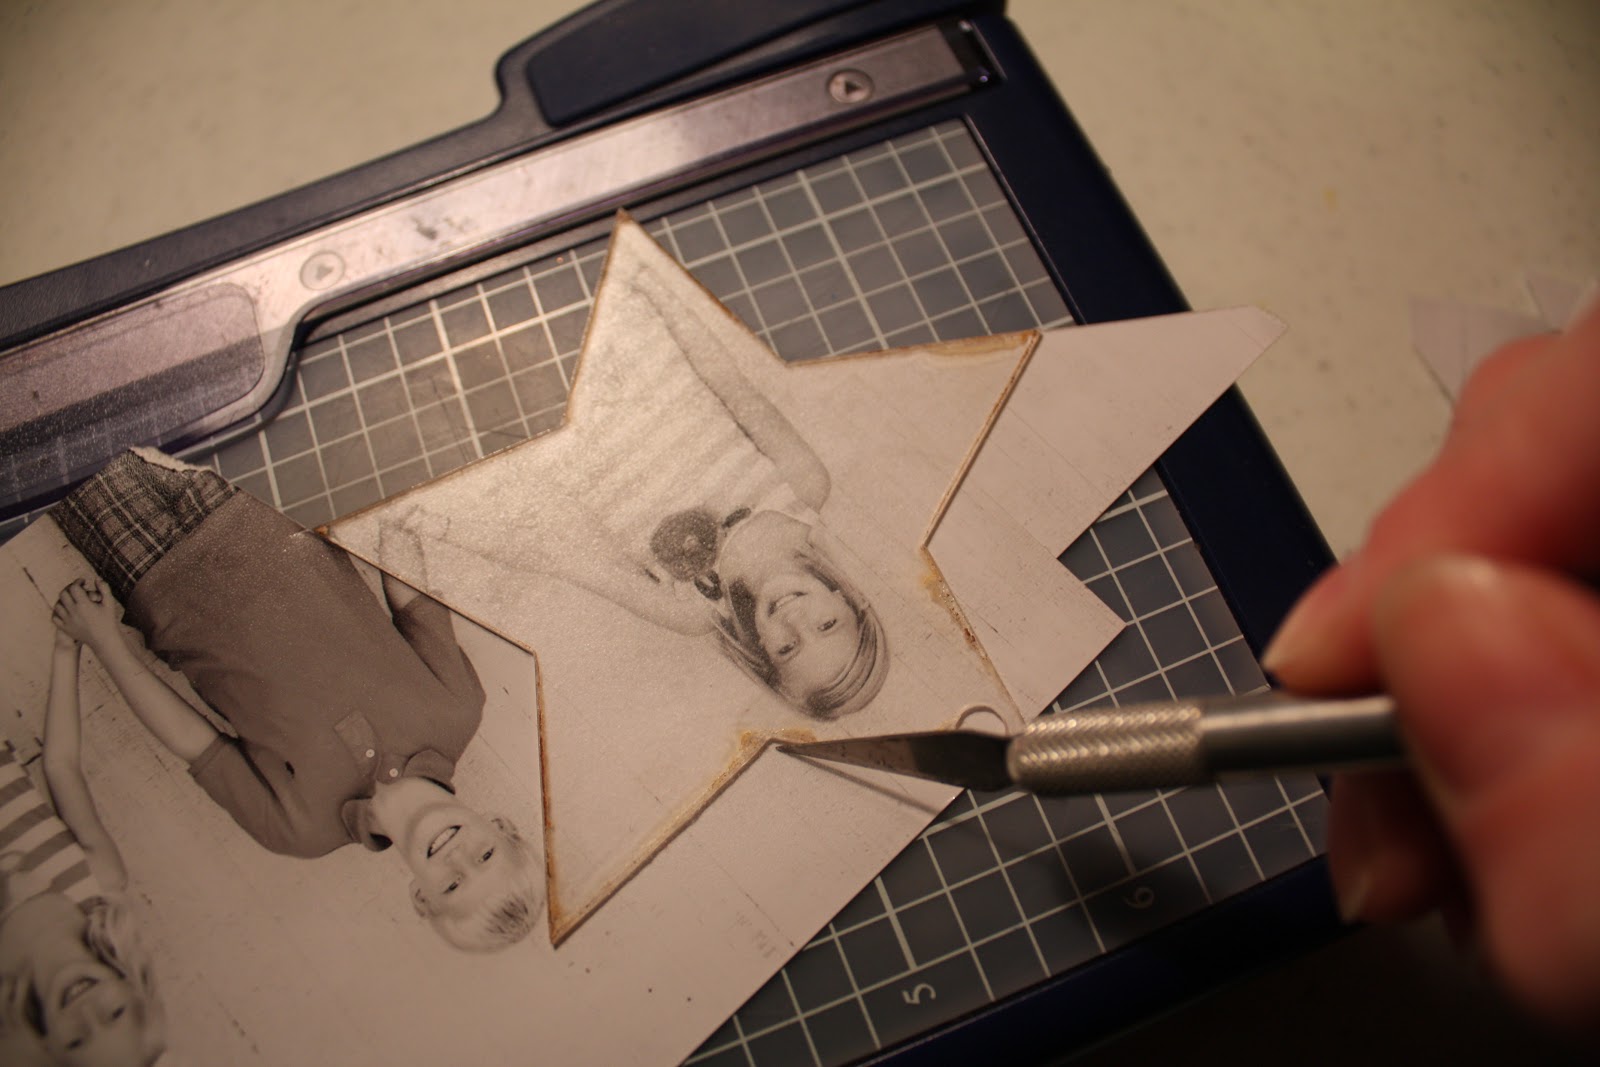
And then cut around it with my xacto knife (by the way - one of my favorite tools!)

Traced the star on some black card-stock and cut it out.

Added a satin red ribbon...

and the black-card stock star to the back.

I made this block ornament for a friend.
(About a month ago our families went down town for a Christmas photo shoot).

(About a month ago our families went down town for a Christmas photo shoot).

These are pictures of their family from that event.
I'm going to make one for our family as well.
Here's how I did it:

Found this package of wood blocks at JoAnn's. I painted them black.

Cut out twelve 1x 1" pictures. (4 pictures per block)

Drilled a hole into each block

Using my Xyron sticker maker, I loaded my 1x1" pictures in and turned them into little stickers
(you can use Mod Podge for this step - you're going to need it anyway!)

Put a thin later of matte finish Mod Podge over the top of each picture.
 Using a needle and some of your favorite ribbon, string or yarn, thread it through the three drilled holes.
(I changed ribbon after I took this picture and ended up using 1" black sheer ribbon)
 I tied a knot at the top and bottom of the block so they wouldn't move around so much.
And added a bow to the top.

(I changed ribbon after I took this picture and ended up using 1" black sheer ribbon)

And added a bow to the top.


No comments:
Post a Comment